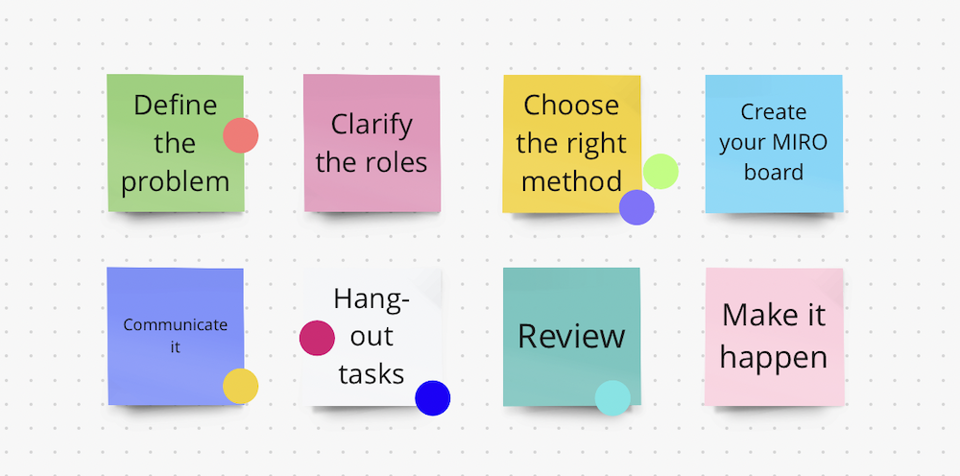


Every good workshop, especially a remote one, starts a few days before the actual call when you prepare and decide a few important things. Let’s go through the checklist of your needs prior to the workshop step-by-step.

1. Define the Problem
First, define the problem you want the workshop to cover. The best thing is to write down the questions you have on your mind and keep them visualized throughout the actual event. Don’t forget to be as specific as you can. Everyone should understand the problem, which is the key to arriving at the best outcome.
2. Clarify Roles
Second, define your own role. If you want to participate in the workshop, it would be advisable to have someone else facilitate it. It’s very difficult to play both roles at the same time. BTW, here is a brief overview of who is who:
Facilitator
“The facilitator’s job is to support everyone to do their best thinking” (Kaner). This person must guide the participants throughout the whole creative process, keeping them focused on the main problem while helping them find the best solutions.
Participants
Participants should be engaged and bring their own expertise and perspectives. Consider what knowledge is needed for the event to pick the right people. Don’t hesitate to invite them all. However, remember that you should split people into smaller groups to keep the right flow in the workshop if there are more than 7 participants in total.
3. Choose the Right Method
The human mind cannot create and evaluate at the same time. That is why we differentiate between 2 processes: creativity and evaluation. We choose the method according to the expected result.
Creative methods – divergent thinking
These methods help people find new perspectives and diverse points of view on a given topic. The main goal is to boost innovation without judgment. As a result, you should get a long list of ideas.
e.g.:
Brainstorming
Brainwriting
Mind/empathy mapping
SWOT analysis
Evaluating methods – convergent thinking:
These methods are based on sorting ideas into categories, summarizing key points, and coming to an agreement. Unlike creative methods, they employ critical thinking.
e.g.:
Voting
Criteria evaluation
Value/ effort matrix
RICE/ICE scoring
4. Create a Miro Board
There are multiple ways to visualize the method you have chosen. You can simply choose the right template from Miro or you can be creative and build your own. When you start working with Miro, don’t forget to include the keystones: the goal, the method with instructions, and the schedule.
5. Communicate It
Do not underestimate communication. Everyone must understand the purpose of the workshop ahead. Create an invitation with all the necessary information about the workshop: the agenda and the goal. Be specific about your expectations for participants. If you give them space for preparation, you increase engagement.
6. Hand Out Tasks
Thorough preparation will again increase the prospect for a more efficient workshop and ensure that the time invested will not be wasted. Consider what is to be done before the workshop, what information will you need, etc. Engage the participants by handing out tasks. It could be only a few minutes of thinking, but even that can make a big difference.
7. Review
Your preparation is now finished and the time has come for a second pair of eyes. Ask someone close the topic to review the method and the content of the workshop to clarify unclear points and adjust them accordingly to avoid misunderstandings.
8. Make It Happen
Once all the previous steps are done, it’s time to make it happen! Explain the most important points at the beginning of the session:
- The goal of the workshop
- How you get there step-by-step
- The schedule (with breaks!!!)
- Next steps at the end of workshop
Don’t forget to keep it simple and understandable for the participants. Get your stopwatch ready and let the show begin!

