


Atlas MongoDB Cluster Recovery Made Easier Thanks To Our Incident Solution
Libor Váchal
Development
Did you know that Atlas MongoDB now offers a soft deletion option for your clusters? The motivation behind this feature stems from one of our incidents and subsequent post-mortem testing, which highlighted the demand for a restoration capability. This is the full story from which you can also get insights into how cluster restoration works in MongoDB.
One of the database solutions we use is MongoDB from Atlas. It’s a managed service, meaning we don’t have to worry about infrastructure, administration, or backup storage. However, we need to monitor our expenses closely. 😬
Recently, another team experienced an incident that took several days to restore multiple data sources and sync them. Various factors contributed to the lengthy duration, one of which was a lack of planning – specifically, the absence of a step-by-step guide to follow in the event of a disaster. Key considerations in such a plan include:
- Which services need to be redeployed?
- In what order should they be redeployed?
- How do we restore data from a backup snapshot?
- Do we need to run any syncing mechanisms (e. g., forcing dumps from legacy systems)?
To better prepare for potential issues with the services we are responsible for 💩, we aimed to test disaster scenarios and create a response plan within our team. We developed a detailed plan outlining the steps anyone with the necessary permissions can follow, including guidance on how to obtain those permissions if needed. While the plan is robust, practical execution is essential for gaining real experience, so we conducted a test by simulating a database cluster destruction.
Planned disaster
We are using the same volume of data in both our staging and production databases; the only difference is that we boost CPU and memory resources in production. This gives us confidence that we can simulate disasters on the staging database, as restoration will be at least as quick on production as it is on staging. Our team is responsible for identity management and user data, so we have been experimenting with this dataset.
Test Case 1: Delete all collections from the DB cluster
This is a simple case in which you lose data, but the DB structure stays the same.
Restoration steps
- go to the Backup section for your cluster
- pick the latest backup
- click on the Restore option from the Actions context menu
Summary

- data restoration: 8min 5s (on M10 cluster Tier – 1.7GB RAM, 40GB storage, 2400 IOPS)
- simple and effective
- prerequisite is that you have enabled backups (which you, of course, have for your production workloads! 🤗)
- example pricing: 30$ – per month for backups – every 6 hours, 2 days retention
Test Case 2: Delete db cluster
This is a more severe case, as we are deleting the whole cluster with data, privileges to access the data, etc.
Restoration steps now for you
If the database cluster has been removed – contact AtlasMongoDB support they will re-create the cluster (or use chat directly in AtlasUI). This step is possible within 5 days from cluster deletion.
💣 Restoration steps – our case
- In our case, our approach was simple: We decided to save the backup locally before deleting the cluster. This way, if something goes wrong, we will be safe. 🤞
- So we clicked on delete cluster 🔥.
- After deletion, we ran our Terraform scripts to recreate the cluster. Errors led us to realize that restoration was impossible because we had backups enabled!
- ❤️🔥So we did the obvious thing – remove the backup (we had it locally from step one)
- ran terraform scripts again to re-create the cluster
- ran restoration from the local backup:
docker-compose)mongodump – it will create /dump folder with data from a snapshotmongorestore – uri="mongodb+srv://<db-user>:<password>@cluster-name-pre.tppkd.mongodb.net" – dir="./dump/"Summary

- cluster restoration from the deletion point took about: 5h – most of the time was spent on finding solution; restoration from local backup took about 1h (around
3Mof documents) - hard lesson learned – turn off backups if you want to delete the cluster and restore it later
- we contacted support about this edge case and according to this case they added the possibility to restore the cluster by contacting support within 5 days from deletion (soft deletion)
Observations
- The restoration process is good to know how long it takes and what steps are needed. We tried it and now are better prepared for real disaster.
- Backup is a must-have feature for production workloads and it is much more important than the next big feature.
- Disaster recovery plans should be tested regularly.
- Support on managed services can help you in edge cases and should be contacted sooner rather than later.
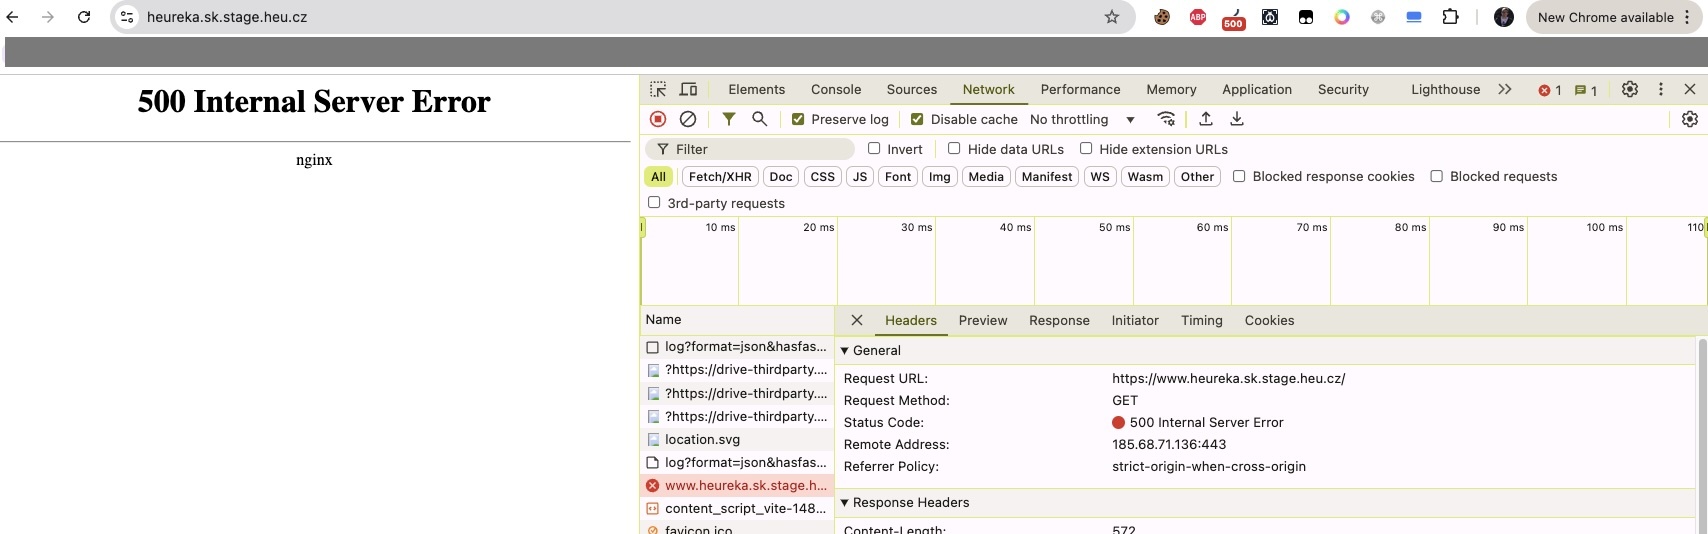
Affects users: Users started receiving 500 status and cannot use Heureka. 🤷
Final Words
When you work in software engineering, it's likely because you enjoy solving problems through technical means. However, there are times when simply reaching out to support can save you both time and frustration. Don't hesitate to ask for help when you encounter difficulties. Additionally, remember to test your disaster recovery plan, as you never know when you might need it.🔚
Author
Libor is a Software Engineer. A member of the platform team responsible for core support services, which include identity management and audit logging.
 Follow us on Twitter
 Follow us on GitHub